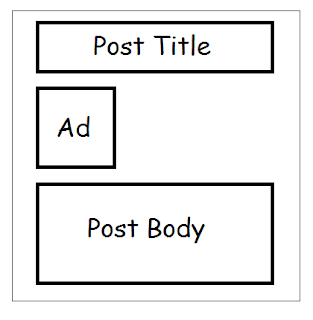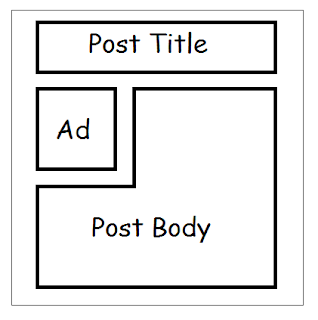
You might have noticed Adsense ads below post title in some reputed blogs. But do you know why they prefer adding code below the post title? it is because it's considered as one of the best place to increase your Click Through Rate (CTR). This is the place where you will get you maximum clicks on your ads.
It is tested by many professional bloggers but you're not forced to follow them. Yous should always keep on trying new ad spots to get maximum revenue from your Adsense account. Today in this article I am going to show you how to place/put Adsense code below post title in blogger. Below is a step by step mentioned tutorial, just follow it and show Adsense code below article.
How To Place Adsense Code Below Post Title
- Navigate to your Google Adsense account.
- Login into your account and create a new ad unit.
- I would recommend 300*250, 336*280 and 728*90 for maximum ad revenue and CTR.
- Now customize your ad with colors if you want then click on save and then click on get code button.
- Choose Synchronous in the code type.
- Copy the code given in the pop up window.
- After that paste the copied Adsense code in the notepad.
- Now replace all > with > and all < with < in Adsense code and copy it.
Add Parsed Adsense Code Below Post Title In Blogger (First View)
- Navigate to your blogger account.
- Go to Template>>Edit HTML. (Note:- Don't forget to take backup of your whole template.)
- Press Ctrl+F and search for this code
- Now paste the copied code just above it. (See Example Below.)
Put Your Adsense Ad code Here
<data:post.body/>
- Replace Put Your Adsense Ad Code Here with your parsed ad code.
- Simply click on save template button.
- That's it, you're done.

Add Parsed Adsense Code Below Post Title In Blogger (Second View)
Add Parsed Adsense Code Below Post Title In Blogger (Third View)
<b:if cond='data:blog.pageType == "item"'>Put Your Adsense Ad code Here
</div>
<data:post.body/>
Above code will look similar to the image below.

structured settlements annuities structured settlement buyer Technology Donate Car to Charity California Classes Loans All topics related to traffic from USA Cooking Recipes · Online Colleges STRUCTURED ANNUITY SETTLEMENT Coupons Student Loans Insurance mesothelioma suit Fashion and Design domain registration yahoo Fatcow Hosting How much to sell domain name for Recovery Technology Blogs MISSISSIPPI MESOTHELIOMA LAWYER Dreamhost Mortgage Health Business Donate Tourism or Travel Treatment DAYTON FREIGHT LINES Credit Software AUTO ACCIDENT LAWYER DENVER Transfer Blogging Making Money online Claim Attomey Nunavut culture Lawyer Conference Call Digital Photography NUNAVUT CULTURE Rehab Trading Online Making Money Casino Insurance Blogs Cord Blood Degree Attormey domain name yahoo Car insurance quotes Colorado Gas/Electricity Mesothelioma Law Firm Donate Car for Tax Credit ANNUITY SETTLEMENT structured settlement annuity companies DUI ATTORNEY ORLANDO mesothelioma survival rates Fastest VPS hosting mesothelioma attorneys california Online Colleges Automobile Accident Attorney
No hay comentarios:
Publicar un comentario
Nota: solo los miembros de este blog pueden publicar comentarios.